Getting the Heat Right: Silk-Screening and Glass Tempering
When you try to mix silk-screen printing with tempering, you’re basically fighting a battle. You need enough heat to bake the ink in, but not so much that you ruin the glass or make your crisp patterns look like a blurry mess. To nail this, we lean on shortwave infrared (IR) lamps. They’re the secret to hitting that tiny window of “just right.”
The Trick to Surface Heat
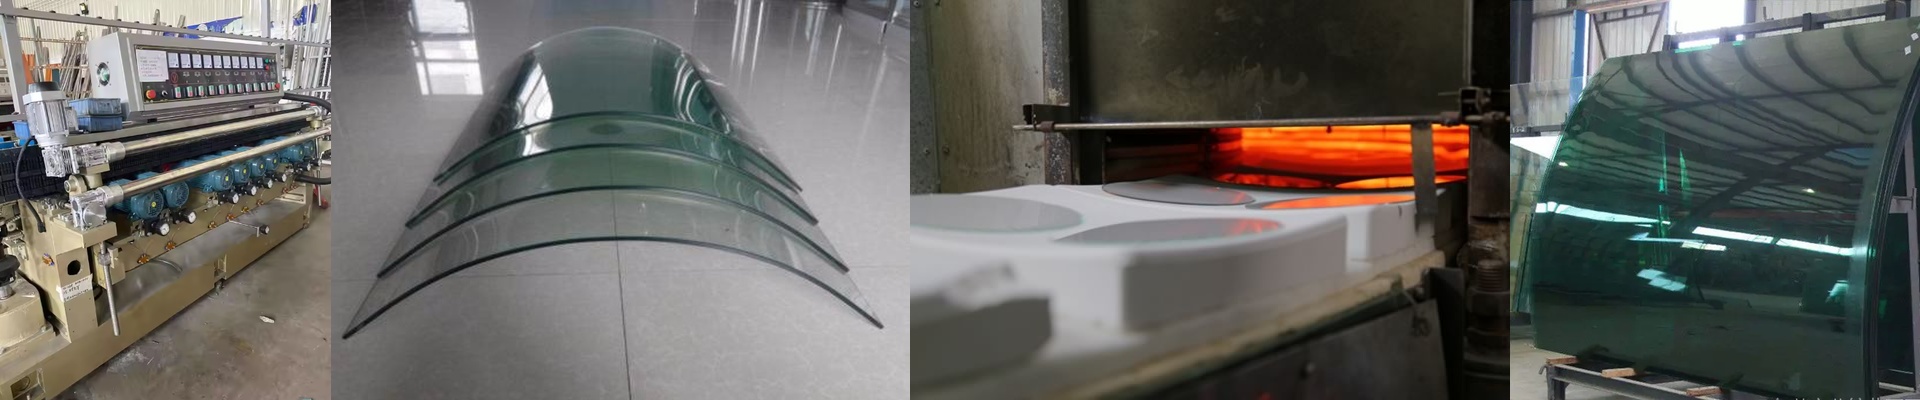
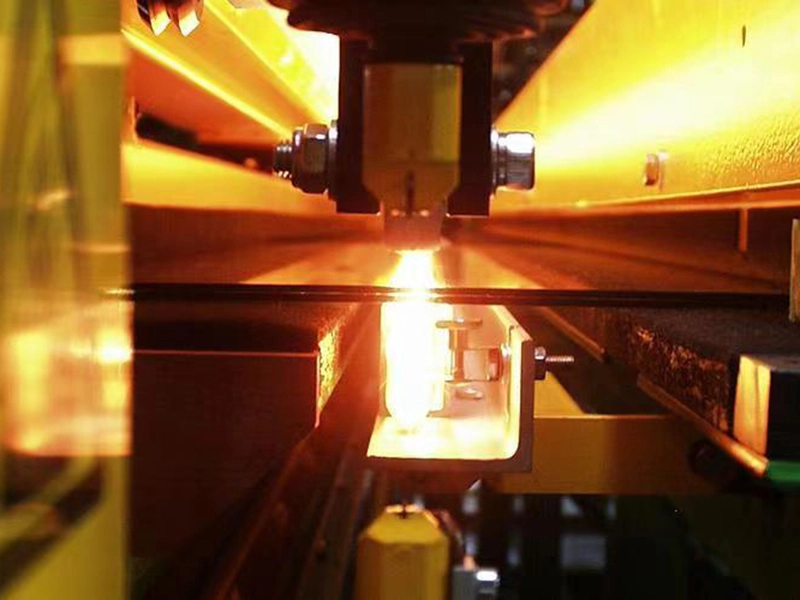
The goal is to get the surface hot, and fast. Shortwave IR is great because it punches right through the ink and the top layer of glass without heating up the whole slab too early. Here’s the thing: if you ramp up the temperature too slowly, the ink starts to bleed or “bloom.” It’s frustrating to see a perfect pattern go fuzzy right at the end. That’s why we spend so much time tweaking the lamp wattage and the distance—we want that ink cured before the glass even thinks about softening.
Keeping Your Lines Sharp
We use high-intensity quartz lamps because they let us zone in on the printed areas. It’s way more precise than a convection oven, which often leaves you with a weird “halo effect” around your design. Since IR works through radiation, we can blast the ink with high heat while the rest of the glass stays stable. It’s the difference between a floodlight and a laser.
The Balancing Act
You can’t just crank the dial to 11 to speed things up. If you overheat the surface, you create too much thermal stress. The result? The glass snaps during the quench phase. Not a good day at the office. It’s all about a delicate balance. The ink needs to fuse, but the glass has to stay within that specific temper range. And don’t forget your conveyor speed. If you speed up the line, you need more power from the lamps to hit that curing temp. But watch out—that’s how you get localized hot spots. Plus, if your cooling blowers can’t keep up with the heat those lamps throw off, your tempering results will be all over the place.